

Virtual appliance (OVA / QCOW2)
The virtual appliance is the shortest path to a running Taranac. Instead of preparing a host, installing Docker and pulling images, you import one file, power it on, and answer a short wizard on the console. The stack then installs offline, from container images already baked into the disk — the appliance never contacts a registry, which is what makes it usable in closed segments.
It is not a different product, or even a different install: inside the appliance
is the same deployment bundle in /opt/taranac. Once the wizard finishes you are
looking at an ordinary Taranac install, and everything else in these docs —
./taranac commands, TLS certificates, upgrades, backups — applies unchanged.
One image, four roles. Since 1.2.3 the same file also deploys the pieces that live away from the core. The wizard asks what the box is — Taranac itself, a Collector, a Captive Portal or an HA Witness — and every one of them installs from the images already on the disk. See Deploy it as a module instead.
- hostname
- network10.20.0.201/24
- timezone
- password
| Format | For |
|---|---|
.ova | VMware ESXi / vSphere, Workstation, Fusion |
.qcow2 | Proxmox VE, libvirt / KVM, plain QEMU |
Both are exported from the same golden image — Ubuntu 24.04 LTS Server,
booted by BIOS rather than UEFI, with Docker Engine and every Taranac container
image already on the disk — so they behave identically. The OVA is built at
hardware version vmx-13 (ESXi 6.5 and newer; verified on 6.7) with an LSI
Logic disk controller and an E1000 NIC, and the image ships qemu-guest-agent
alongside open-vm-tools so it is at home on either hypervisor.
Get the images from the download page. It prints each file’s SHA-256; the artifacts are several gigabytes, so check the download against it before you spend the import.
The appliance is re-cut per release only when a release warrants it, so the
current image can carry an earlier version than the newest bundle. That is not a
problem to solve before installing: once it is up, ./taranac update moves it
forward like any other host. The examples below name 1.2.3; use the filenames
the download page actually shows.
Resources
Section titled “Resources”| Resource | Value |
|---|---|
| vCPU | 4 |
| RAM | 8 GB |
| Disk | 40 GB, thin-provisioned |
The OVA already declares all three — deploy it and the VM arrives with them. The QCOW2 is a bare disk with no descriptor to carry anything, so on Proxmox you set them yourself when you create the VM (below). Either way, the wizard resizes nothing for you.
The disk is thin: roughly 9 GB is actually occupied after import, and the rest is headroom that fills as TACACS+ and RADIUS accounting accumulate.
Import on VMware (OVA)
Section titled “Import on VMware (OVA)”In the ESXi Host Client (or vSphere), start Create / Register VM and
choose Deploy a virtual machine from an OVF or OVA file. Name the VM, then drop
taranac-1.2.3.ova into the file box:
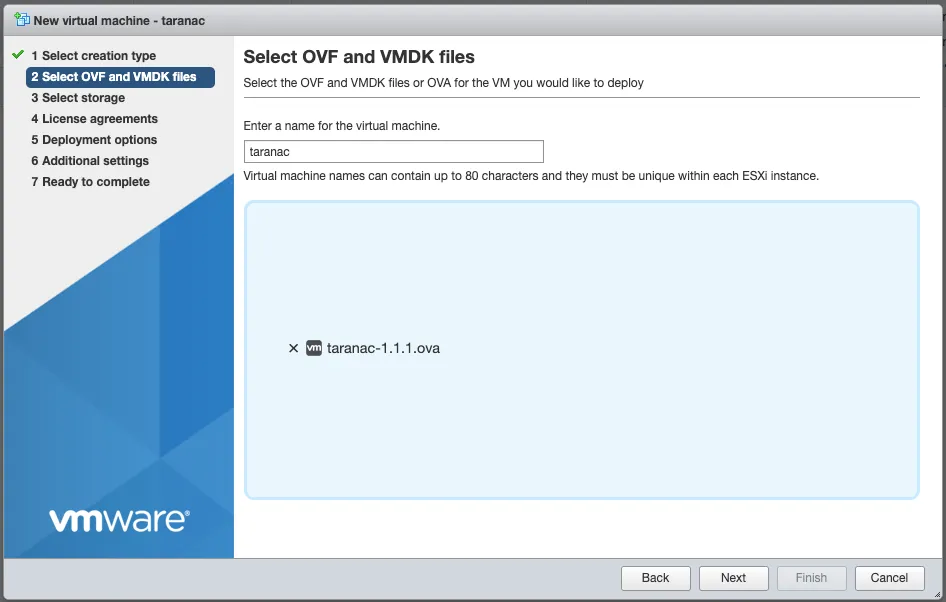
The rest of the wizard is defaults, with two choices that matter:
| Step | What to pick |
|---|---|
| Select storage | A datastore with room for the 40 GB thin disk |
| Deployment options | The port group that reaches your network devices; thin provisioning |
Leave the hardware alone — in particular the disk controller, which is pinned to LSI Logic so the image imports on ESXi 6.5. Finish the wizard, wait for the upload to complete, and power the VM on.
On Workstation or Fusion the equivalent is File → Open on the same .ova.
Skip ahead to First boot.
Import on Proxmox VE (QCOW2)
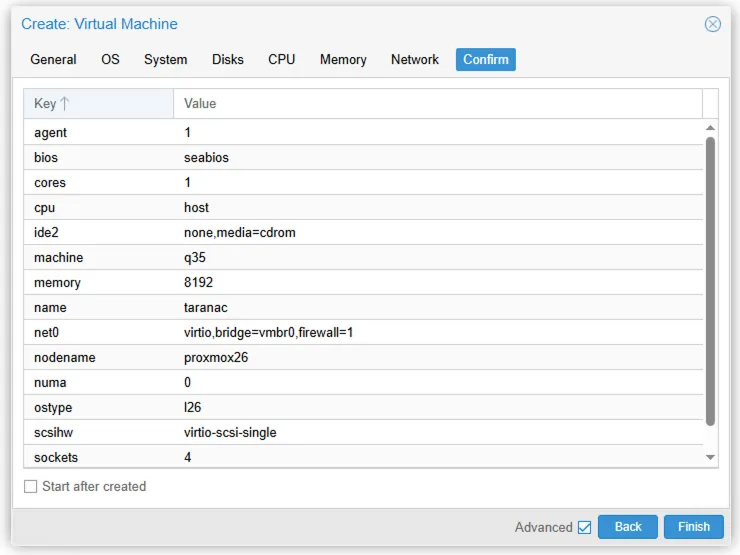
Section titled “Import on Proxmox VE (QCOW2)”Proxmox has no OVF importer in the web UI, so the flow is: create a VM with no disk, then attach the downloaded QCOW2 to it from the shell. The settings below are not suggestions — the image boots with these and fails with some of the alternatives.
1. Create the VM
Section titled “1. Create the VM”General — give it a name and note the VM ID; you need the ID in step 2.
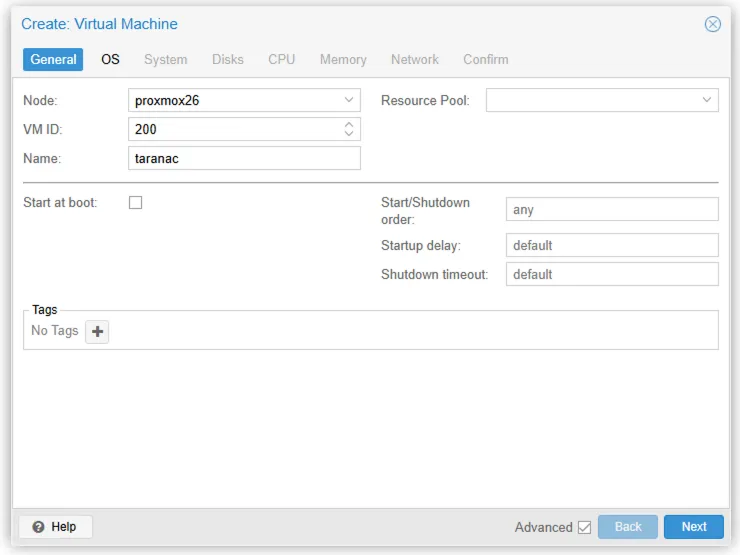
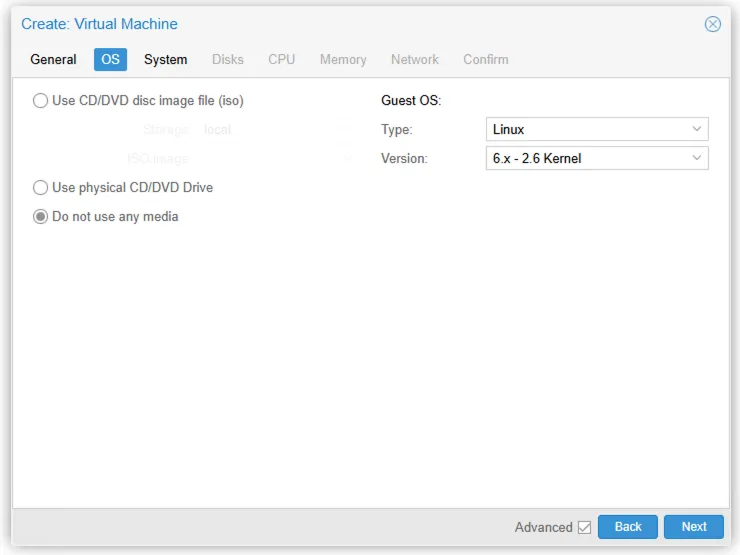
OS — select Do not use any media. There is no installer to boot; the disk you attach later already contains the system.
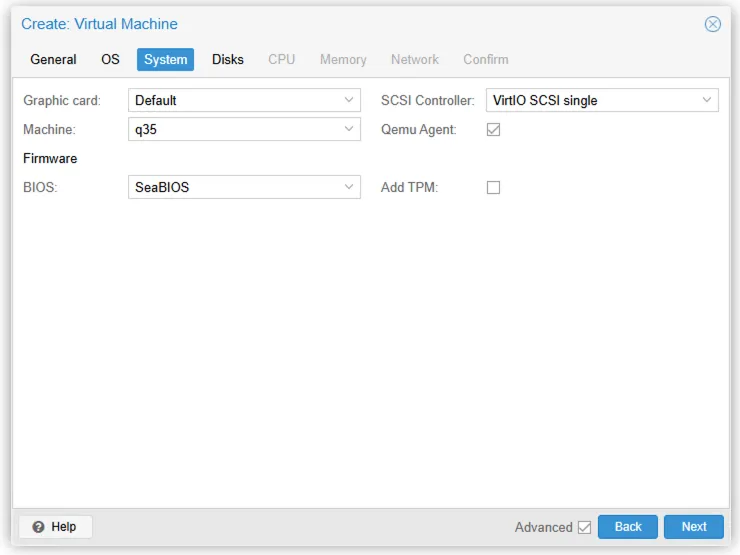
System — the tab that decides whether the appliance boots at all:
| Setting | Value | Why |
|---|---|---|
| Machine | q35 | |
| BIOS | SeaBIOS | The image is not UEFI — it will not start under OVMF |
| SCSI Controller | VirtIO SCSI single | The disk is attached as scsi0 in step 2 |
| Qemu Agent | enabled | qemu-guest-agent is installed in the image |
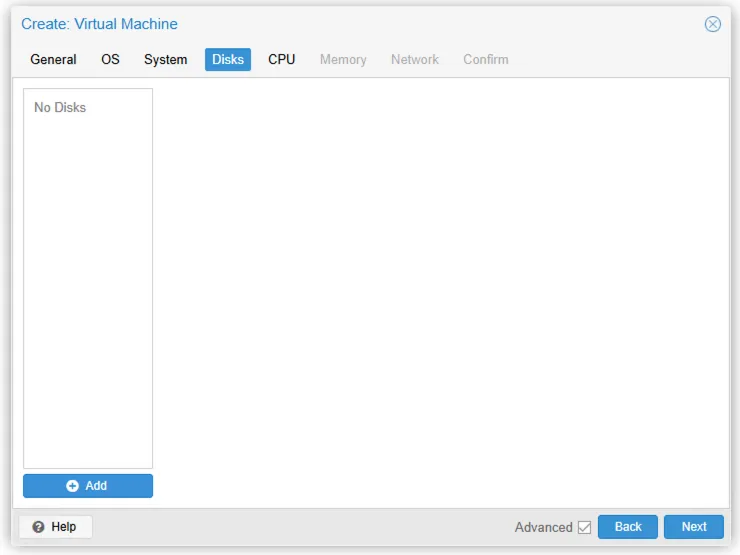
Disks — remove every disk. The VM is created empty on purpose.
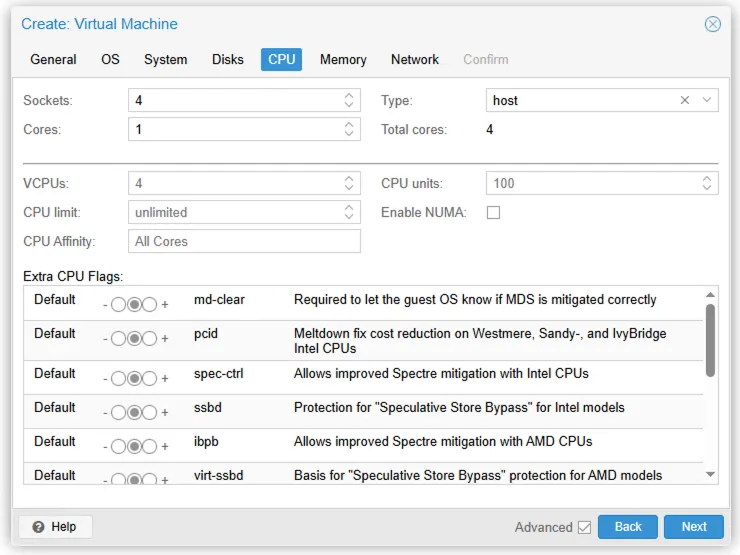
CPU — 4 vCPU, type host.
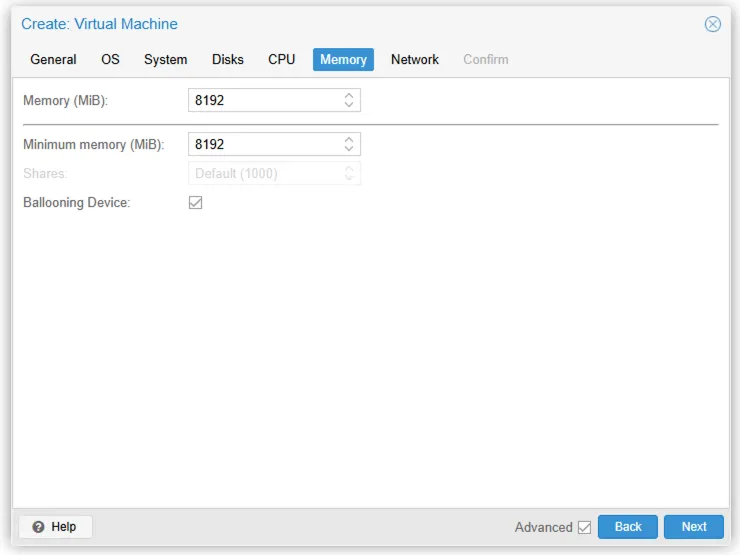
Memory — 8192 MiB.
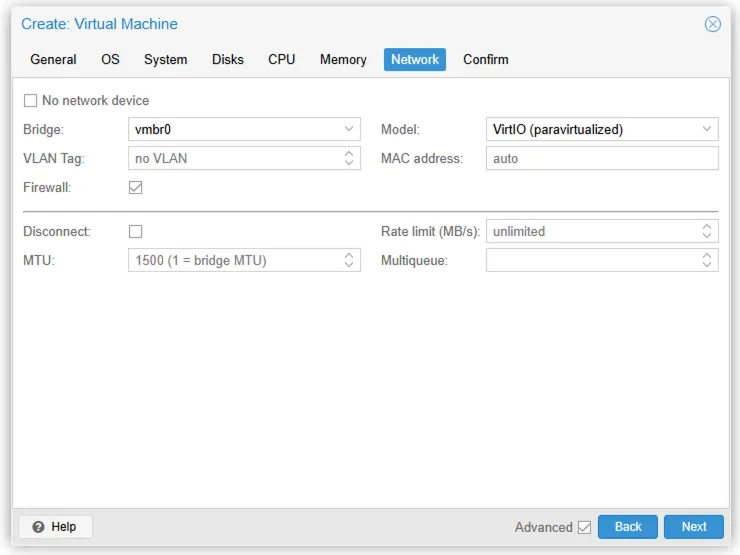
Network — model VirtIO (paravirtualized), on the bridge that reaches your network devices.
Confirm — check the summary, leave Start after created off, and finish.
2. Attach the disk
Section titled “2. Attach the disk”Copy the image to the Proxmox node and import it into the VM you just created.
Throughout, 200 is your VM ID and local-lvm your target storage:
scp taranac-1.2.3.qcow2 root@proxmox:/root/ssh root@proxmoxqm importdisk 200 /root/taranac-1.2.3.qcow2 local-lvmOn Proxmox 8 and newer the command is qm disk import with the same arguments;
older releases keep importdisk. It prints the resulting volume, something like
Successfully imported disk as 'unused0:local-lvm:vm-200-disk-0' — note that
volume name.
The disk is now attached to the VM but unused, so two things remain: bind it to
scsi0 and make it the boot device. From the same shell that is one command:
qm set 200 --scsi0 local-lvm:vm-200-disk-0 --boot order=scsi0Or, in the web UI: Hardware → Unused Disk 0 → Edit, set the bus to SCSI
device 0 and add it, then Options → Boot Order, tick scsi0 and drag it
to the top.
Start the VM. If it drops into the BIOS or reports no bootable device, the boot order did not take — that is the step to re-check, along with BIOS being SeaBIOS rather than OVMF.
First boot
Section titled “First boot”The setup wizard runs by itself on the console the first time the appliance boots — there is nothing to log into yet. Move with Tab and the arrow keys, and confirm with Enter.
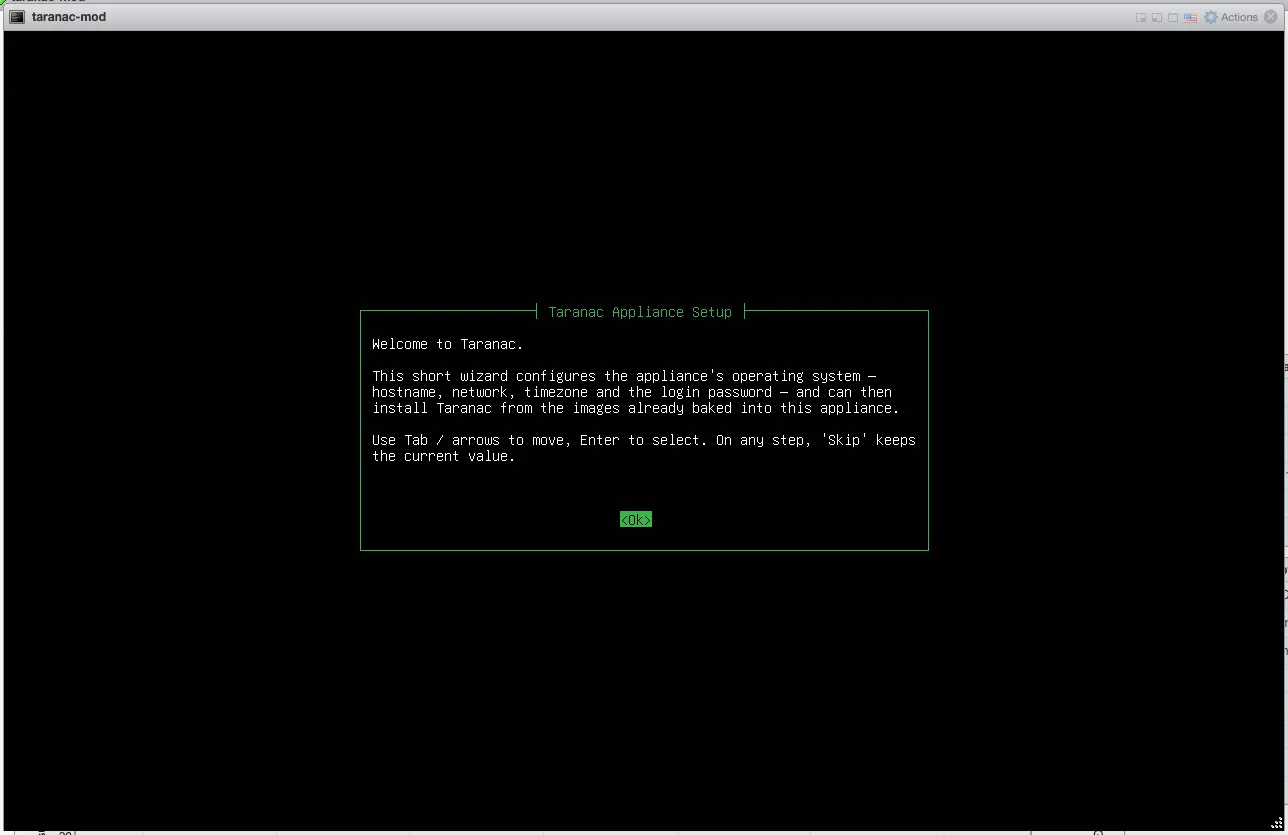
Most steps offer Skip, which keeps the current value. The two that do not are the password and the question of what this appliance is.
The wizard owns the console until it finishes, then hands it back to the login
prompt. If something stops it half-way, the console says so rather than leaving
you at a bare prompt wondering — and names the way back in: sudo taranac-setup.
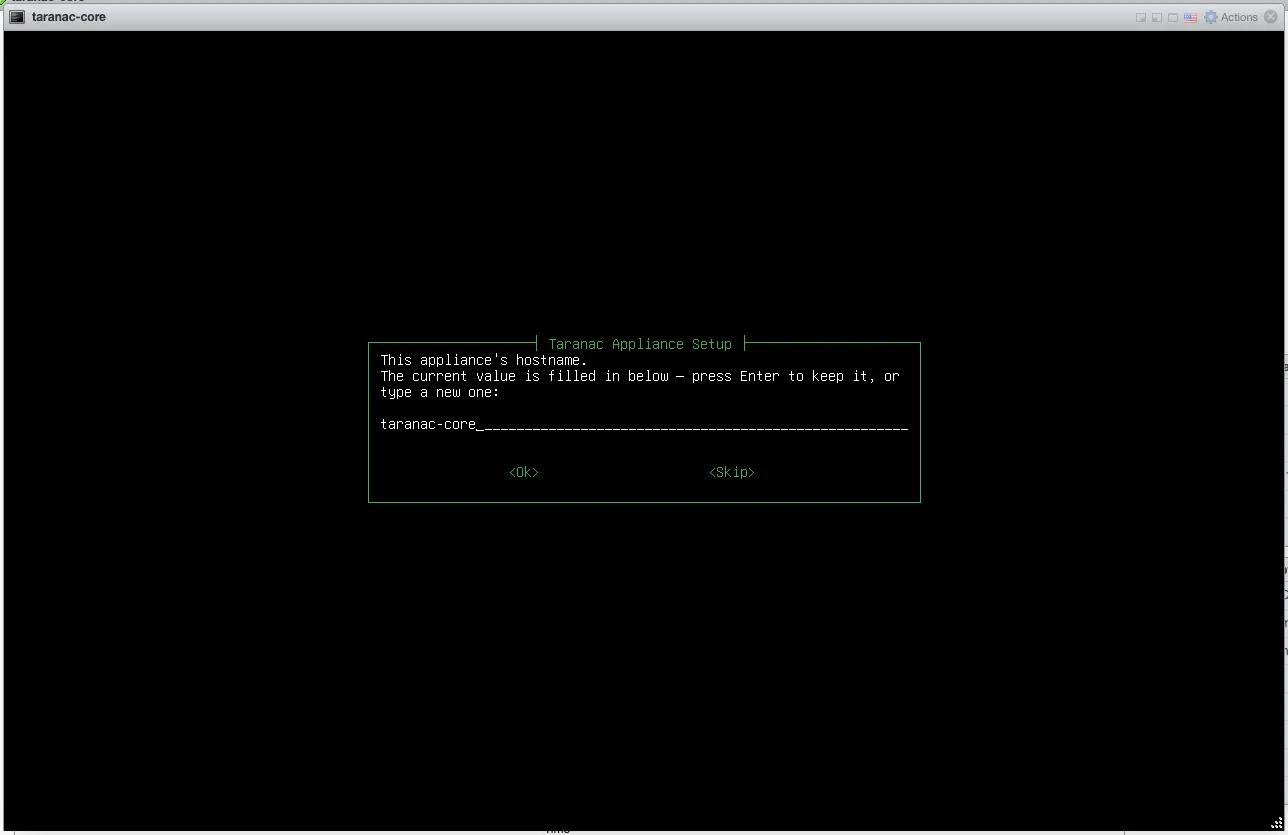
Hostname — the appliance’s own name. The box’s current name is filled in for you; press Enter to keep it, or type a new one.
Network — first, how the interface gets its address:
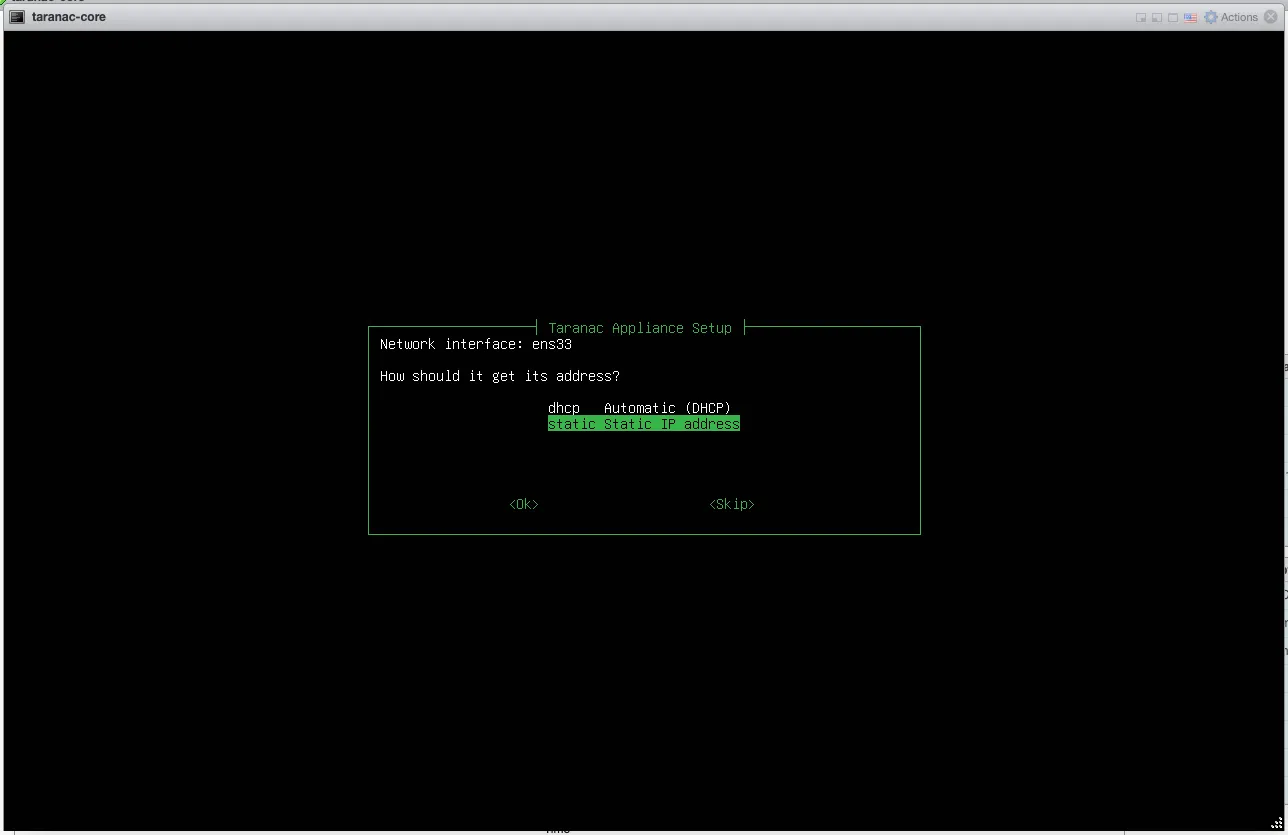
Choose static and it asks four short prompts in a row: IPv4 address, subnet
prefix length (offered as 24), default gateway — which may be left empty on a
segment that has none — and DNS servers (offered as 1.1.1.1 8.8.8.8). The
address and the prefix are validated as you type: a malformed one is refused and
asked again rather than written into a config that then fails to apply.
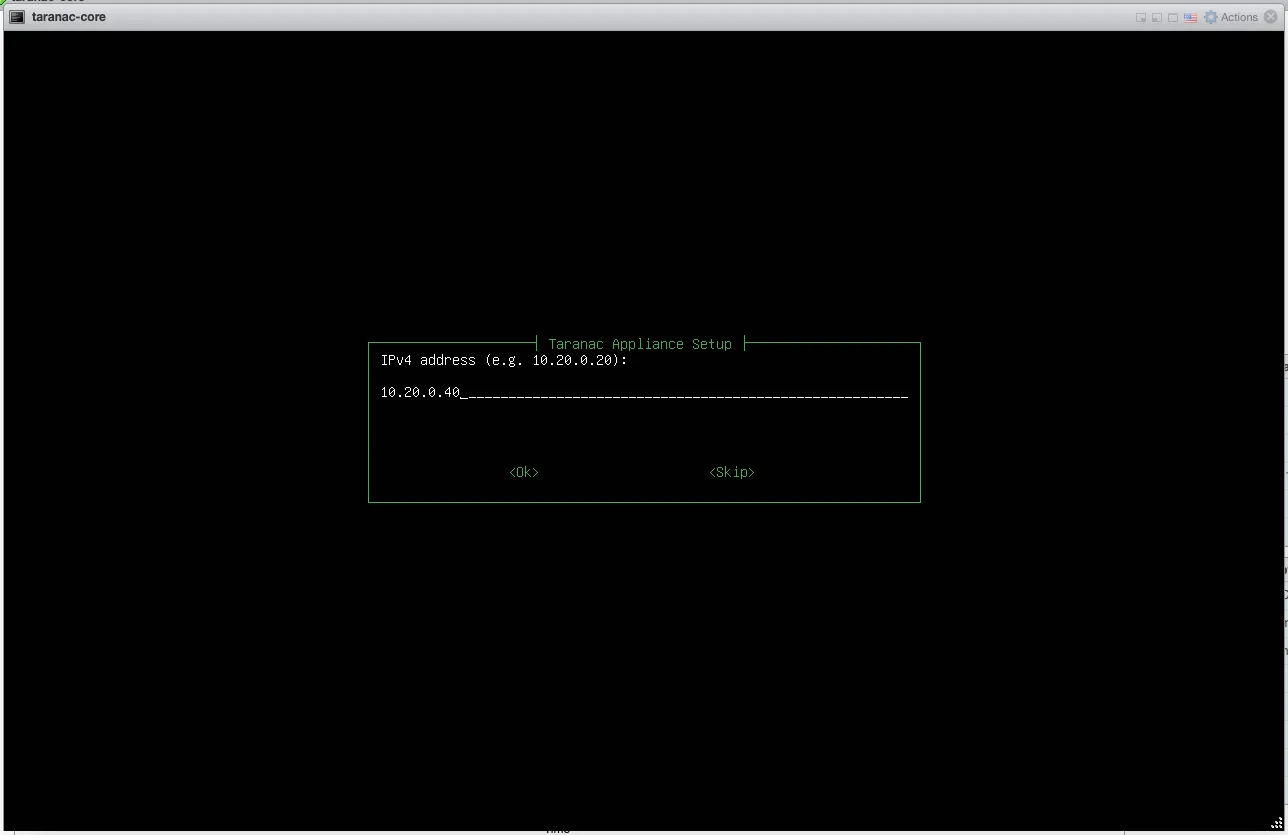
A NAC box wants a fixed address. Whatever you choose here has to match what your switches will point their TACACS+ and RADIUS configuration at.
Answering this step also retires the DHCP fallback the image ships with, so nothing is left to override the address you just set — netplan merges by device id rather than by interface, and both definitions would otherwise be rendered.
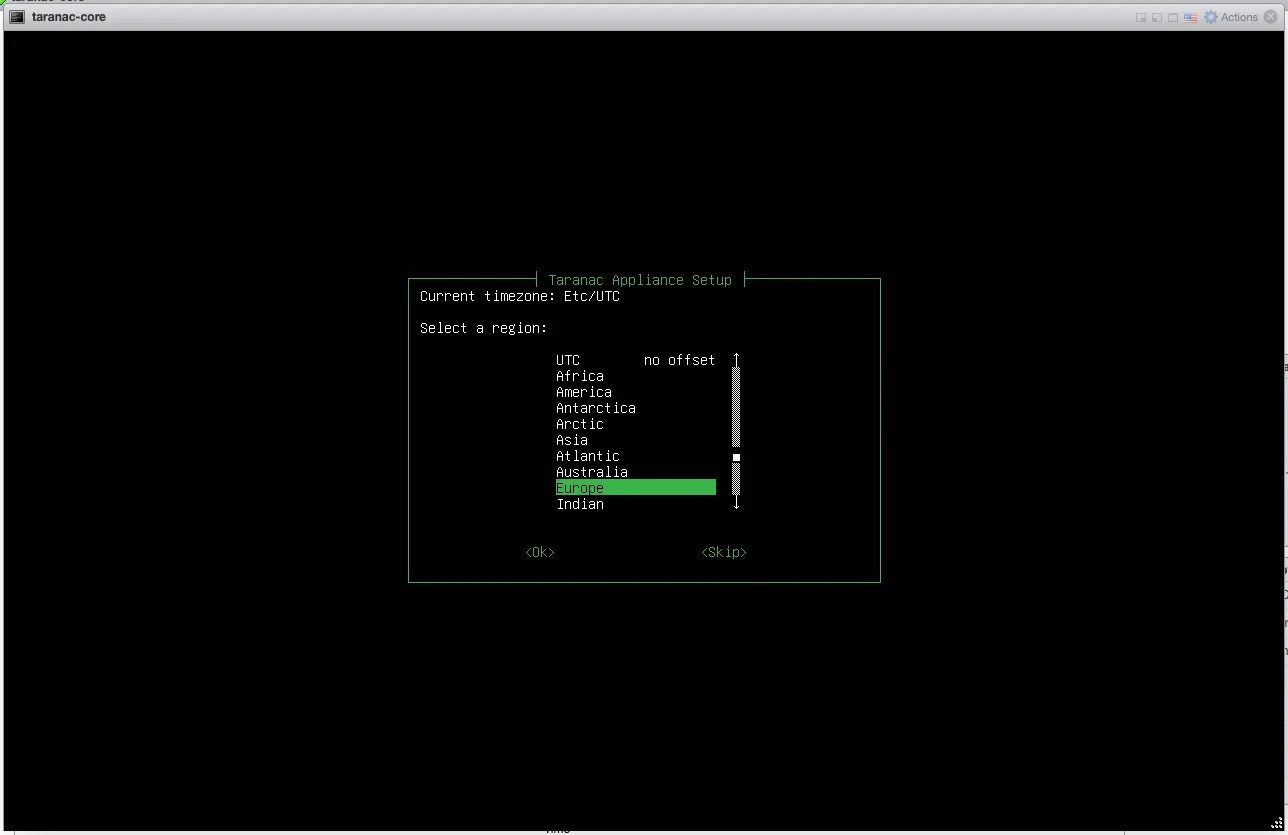
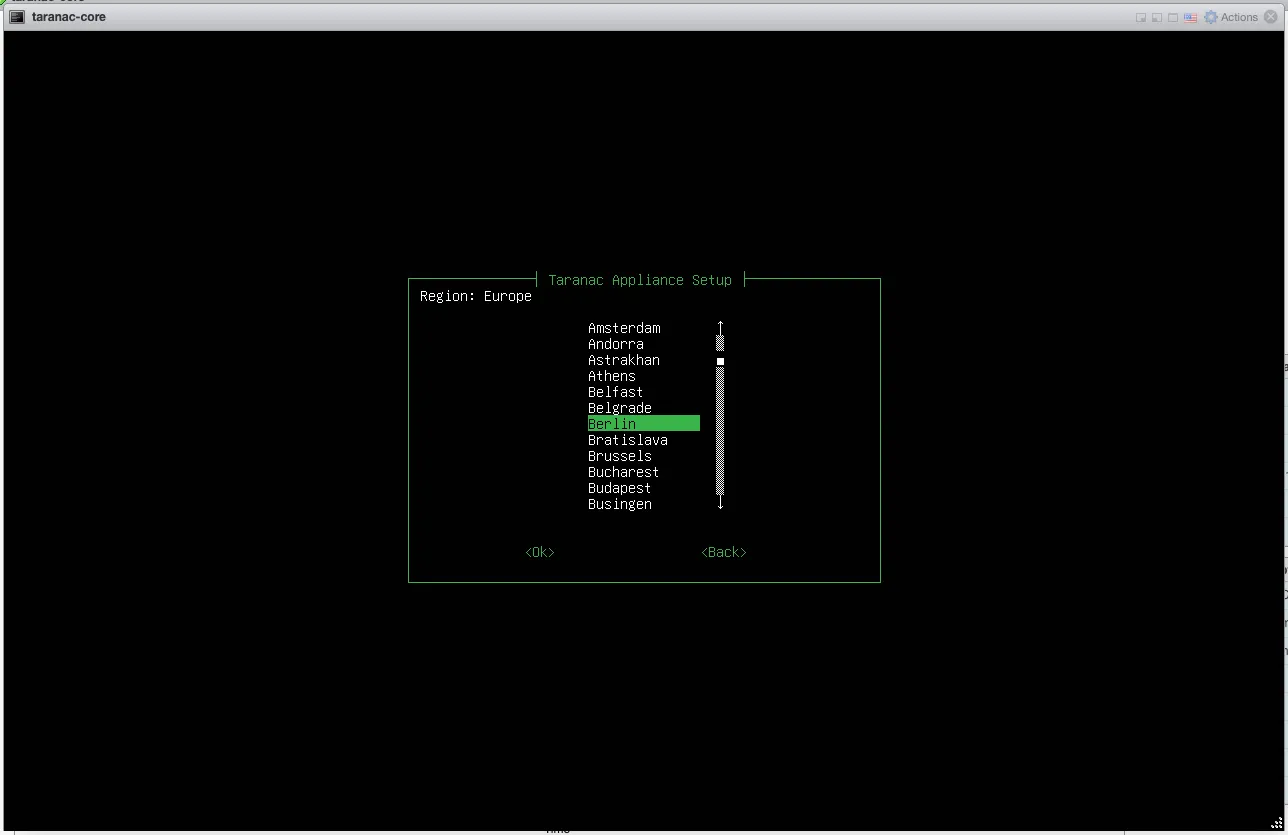
Timezone — pick a region, then a city, from the full tzdata list, with
UTC offered as its own entry at the top. This is worth getting right: it is
the timestamp on every accounting and audit record. Skip the step and the
image’s own neutral default, Etc/UTC, stands.
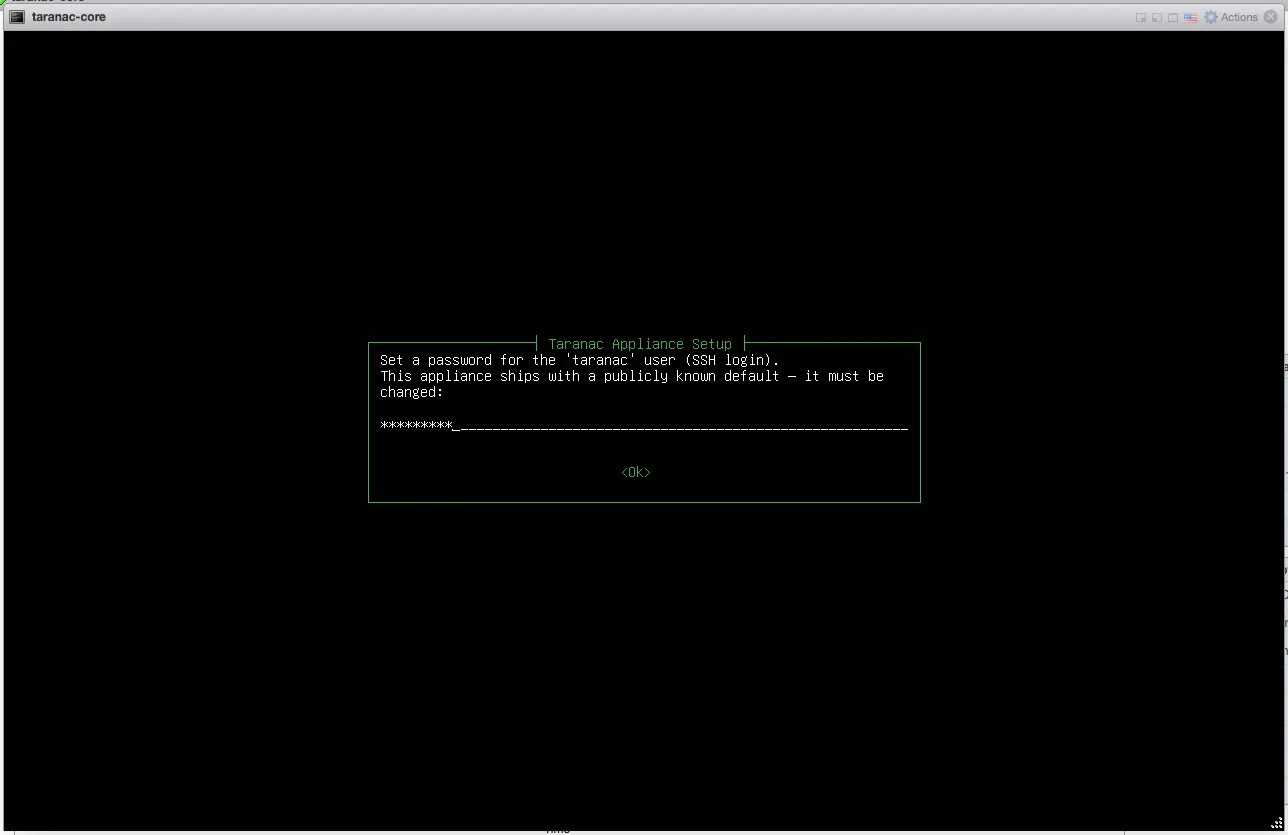
Password for the taranac user — this is the SSH and console login for the
operating system, not the Taranac admin account. There is no Skip here: the
image ships with a publicly known default, and the wizard asks twice to confirm.
What is this appliance?
Section titled “What is this appliance?”The operating system is now configured, and the wizard asks the question that decides everything after it:
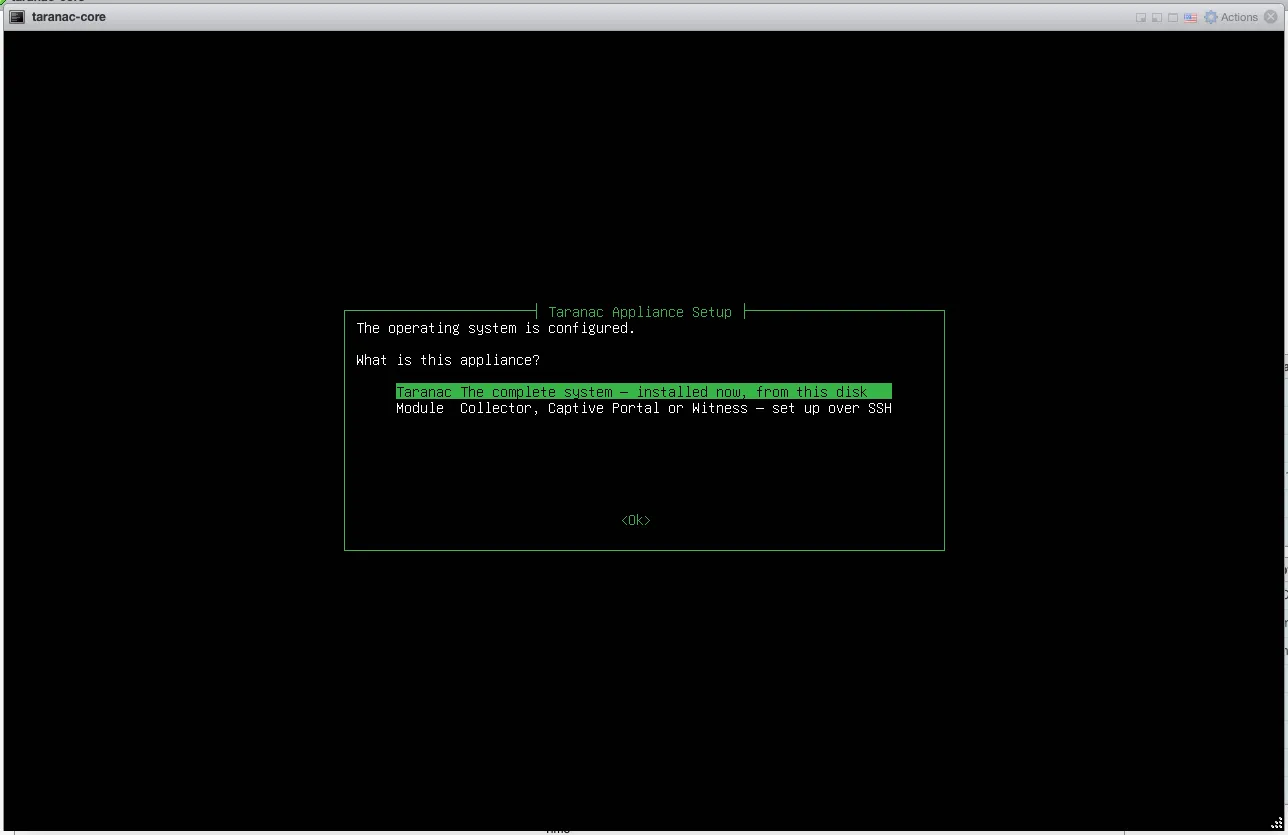
| Answer | What happens |
|---|---|
| Taranac | The complete system, installed now, from this disk — the rest of this page |
| Module | A Collector, Captive Portal or Witness, set up over SSH — see below |
Neither is marked recommended, deliberately: which one is right is a fact about
the box in the rack, not a preference. And the answer is not final — sudo taranac-setup re-runs the wizard, so a box that was going to be a collector can
become a full install instead.
Install Taranac
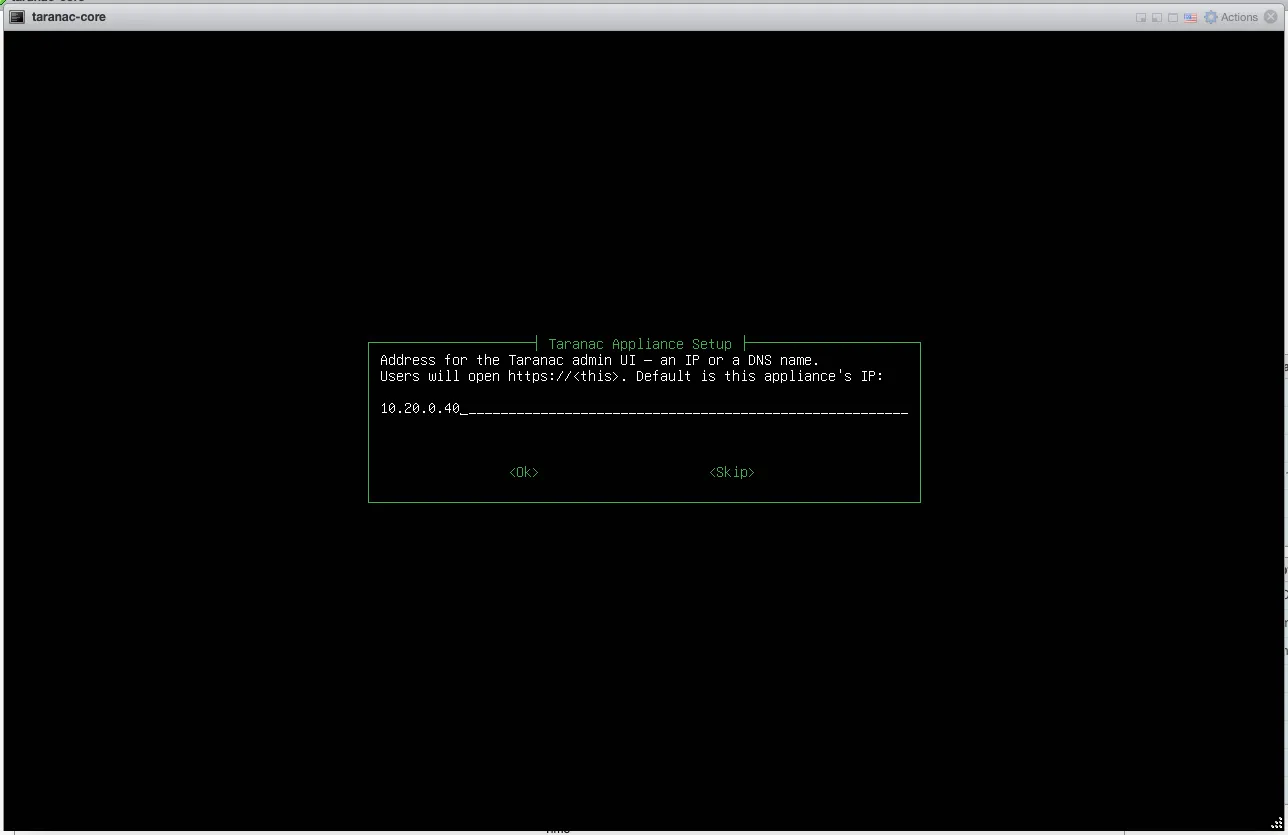
Section titled “Install Taranac”Answer Taranac and it asks the same three questions the bundle installer
asks — the address users will open the admin UI at (defaulting to this
appliance’s IP), the initial admin username (admin), and its email address
(admin@ that address).
From there it runs unattended: generating every secret fresh for this
installation, writing /opt/taranac/.env, and bringing the container stack up
from the preloaded images.
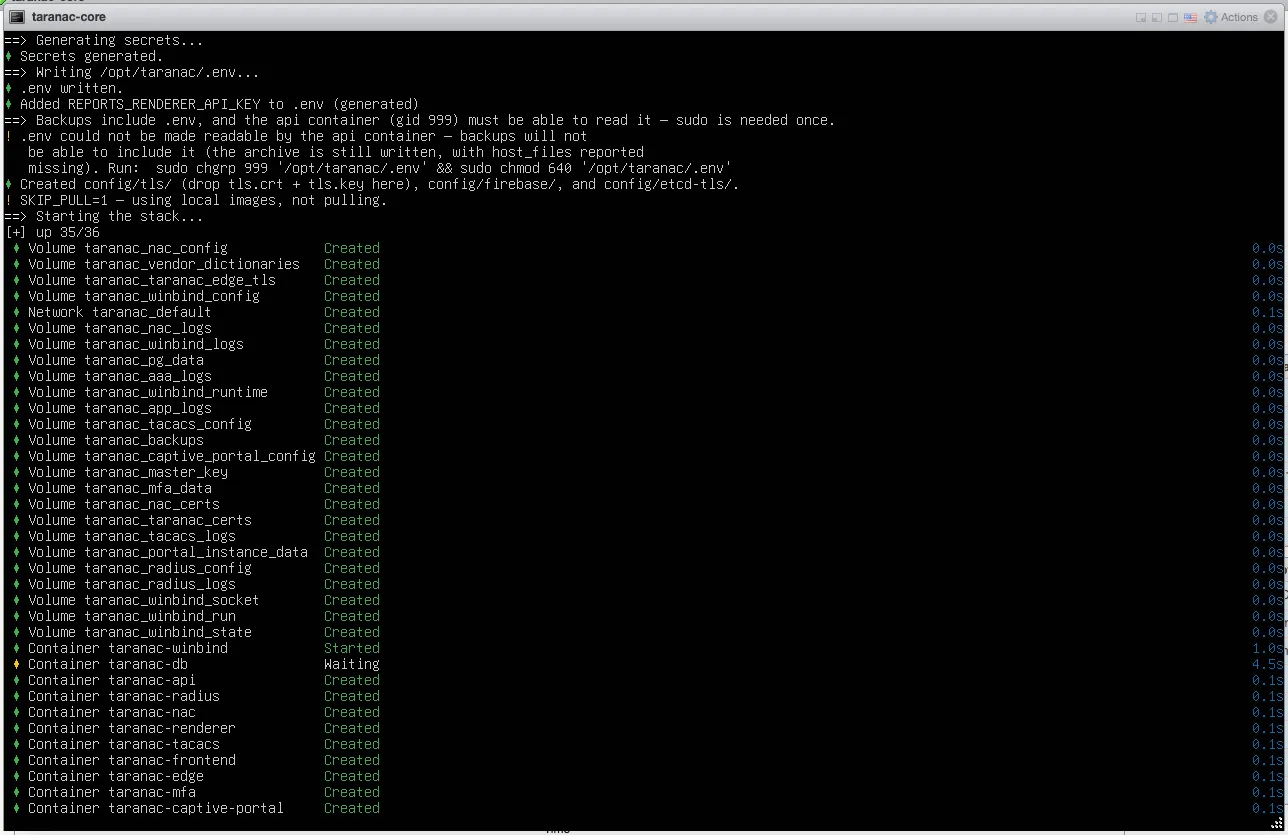
Nothing is downloaded. The secrets are generated per install, not carried in the image, so two appliances deployed from the same file share no credentials.
If the installer stops instead, the wizard says so on the screen that would have
claimed success — nothing announces a stack that never came up. Its own output is
on the console above; fix the cause and re-run the whole thing with sudo taranac-setup.
The certificate-addresses question is gone
Section titled “The certificate-addresses question is gone”Earlier images asked which other addresses this appliance answers on and put the answers into the certificate. Since 1.2.3 they do not, and if you are following an older write-up, that step is not missing — it was removed. It bought nothing: the certificate is self-signed whatever it covers, and on an appliance the wizard passes its answers through the environment, so the unanswered prompt sat waiting behind the wizard’s own dialog where nobody could see it.
Widening it is a post-install setting. Add the names and addresses (comma or
space separated) to TARANAC_EXTRA_ADDRESSES in /opt/taranac/.env, then
recreate the edge container:
cd /opt/taranac./taranac up -d edgeSave the admin password
Section titled “Save the admin password”The last screen shows the admin URL, the username, and a generated password.
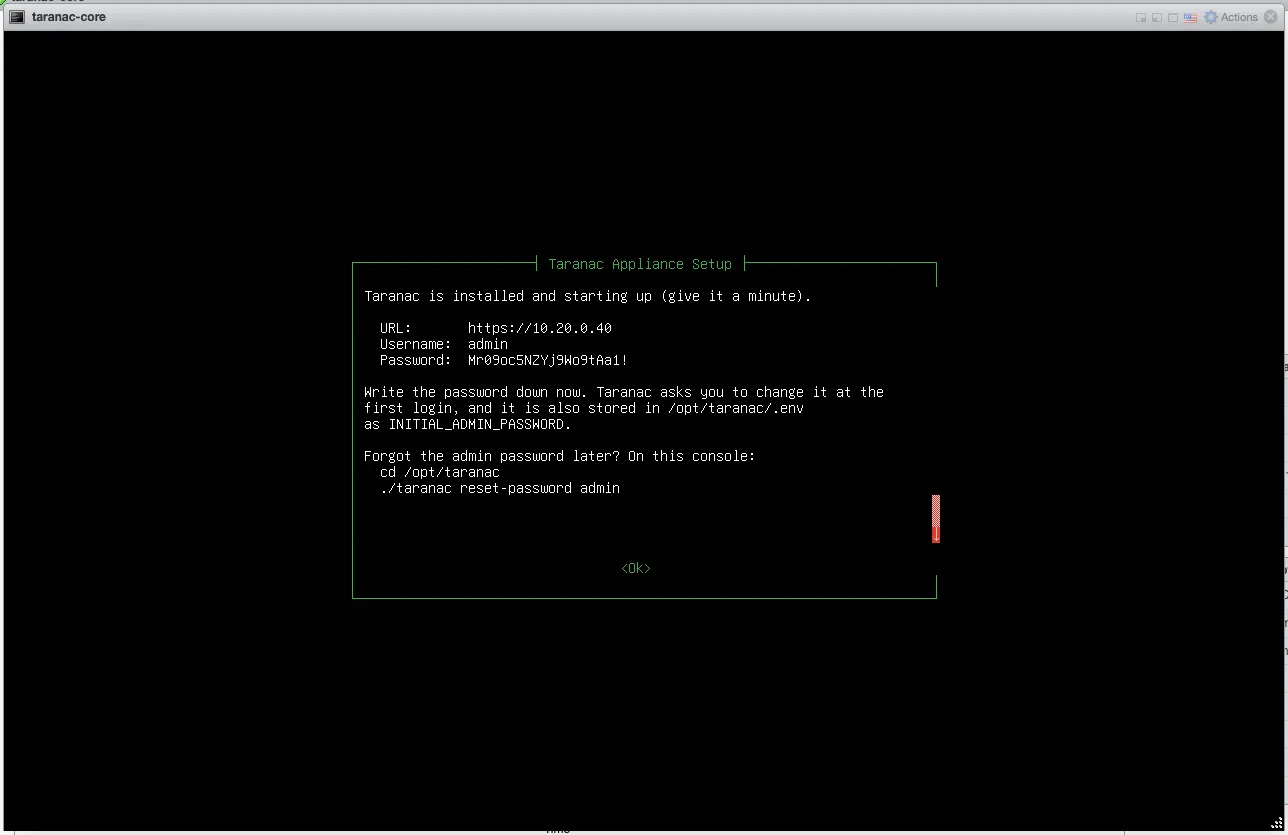
Copy the password now. It is printed in full on purpose — the account is
seeded to demand a change at the first login, so that password survives exactly
one use. It is also written to /opt/taranac/.env as INITIAL_ADMIN_PASSWORD,
and if it is lost entirely you can set a new one from the console:
cd /opt/taranac./taranac reset-password adminGive the stack a minute to finish starting, then open the URL. The certificate is self-signed until you install your own — see Installation → TLS certificate.
Deploy it as a module instead
Section titled “Deploy it as a module instead”The other answer to What is this appliance? turns the same image into one of the pieces that live away from the core.
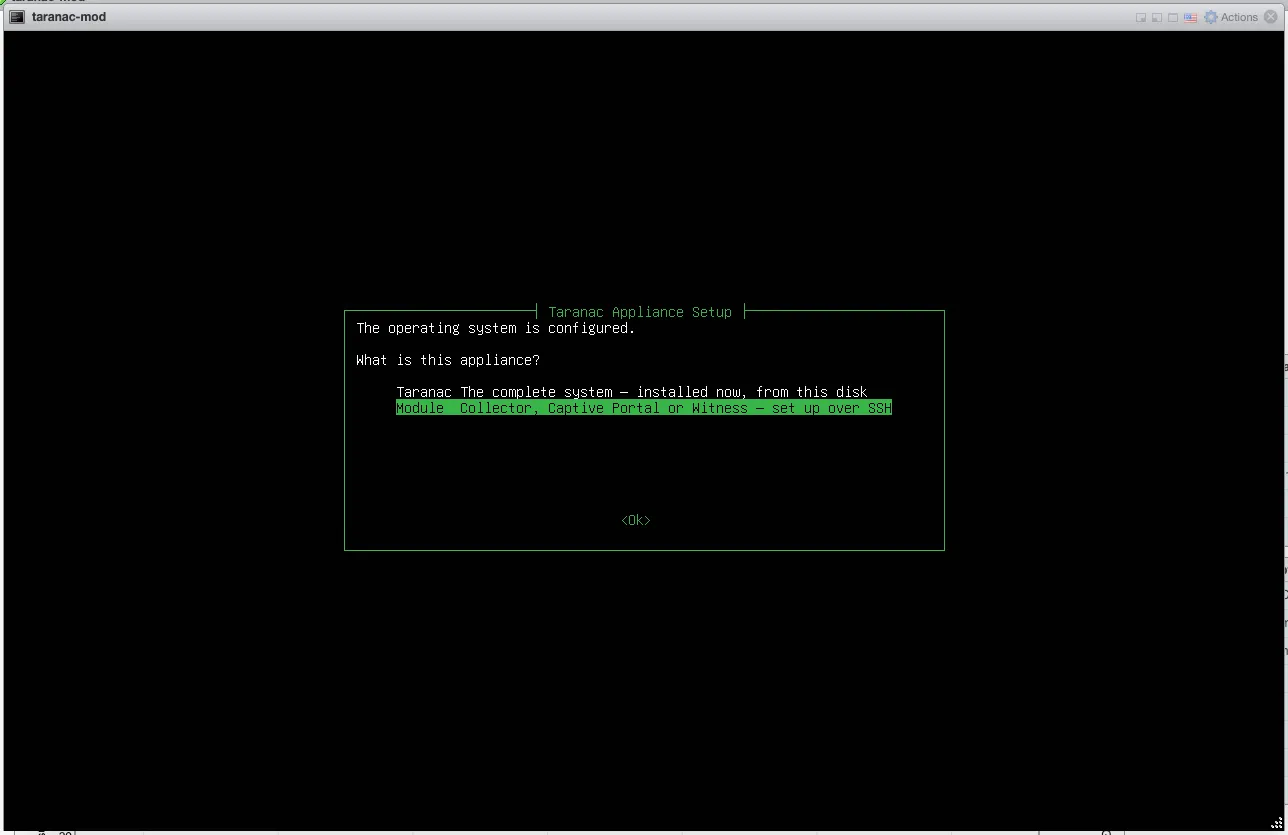
The wizard then stops and hands over to SSH, on purpose — it asks nothing else on the console:
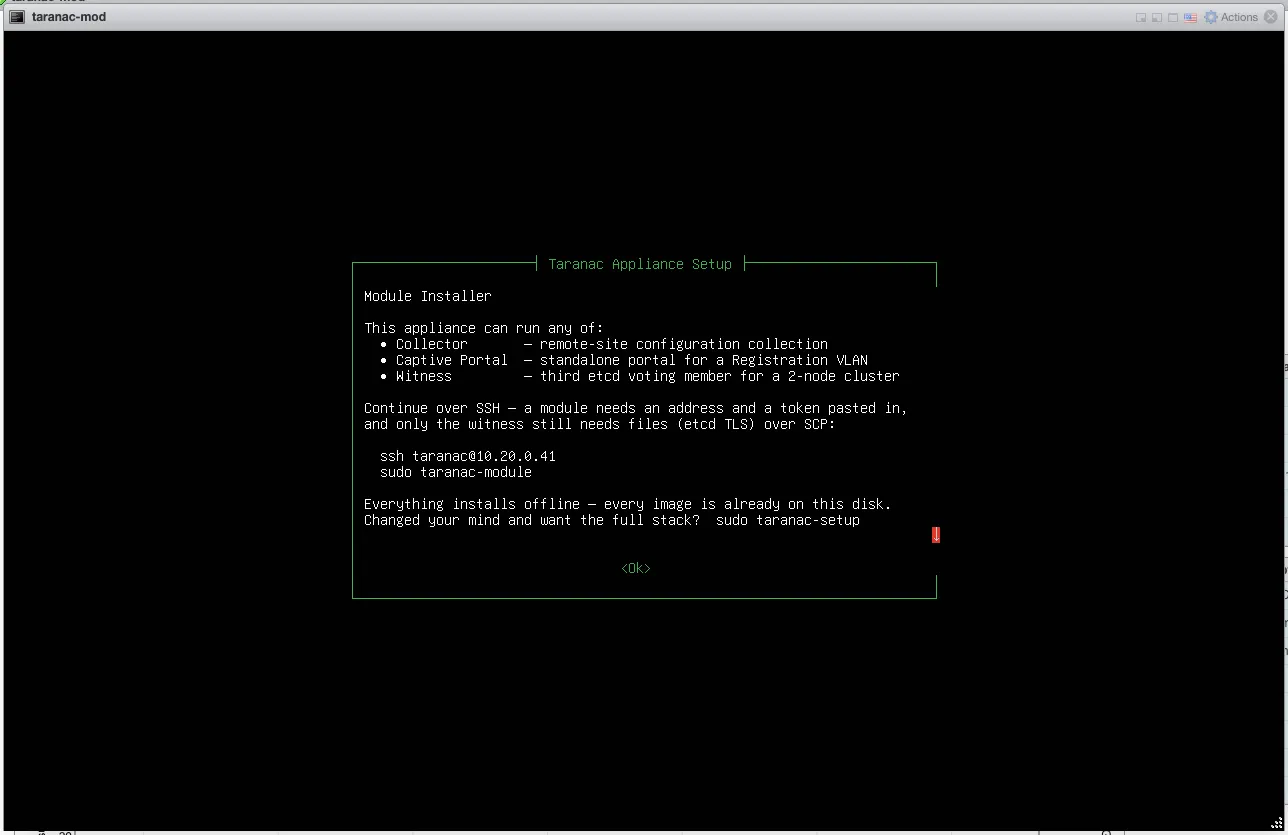
That is not an omission. Every module is configured with material that is miserable to type on a hypervisor console and trivial to paste into a terminal: a 32-character enrollment token, a portal API token, a multi-line join command. So the screen gives you the address it just configured and gets out of the way.
ssh taranac@<the address on that screen>sudo taranac-module # the menusudo taranac-module collector # or name the role directlyThe three roles
Section titled “The three roles”| Role | What it is | What you need in hand |
|---|---|---|
| Collector | Collects device configurations for the Configuration Tracker from a segment the core cannot reach. Dials out only; listens on no port. | The core’s URL including its /api/v1 prefix, and an enrollment token from NCM → Collectors → <collector> → Enroll |
| Captive Portal | A standalone portal for a Registration VLAN, usually in a DMZ. Takes the host network: it binds 80/443, plus 53 and 67 for DNS and DHCP. | The core’s URL at its root (no /api/v1 — its own nginx adds the path), and a token from NAC → Captive Portals → <portal> → Deployment → Generate Token |
| Witness | The third etcd voting member of a two-node HA cluster. Runs etcd only — no database, no Taranac services, no admin UI. | The command ./taranac cluster add-witness --address <this appliance> printed on the primary; paste it whole, all four lines — or press Enter and answer its three parts one at a time |
The two URL forms are not interchangeable, and the same mistake in either
direction produces a 404. The installer refuses anything that is not https://
outright: this channel carries device credentials.
Beyond the URL and the token, the collector asks one more thing — how often to
poll, in seconds, offered as 30. Nothing else is prompted for.
A witness must sit in a different failure domain from both database nodes. Putting it on the same hypervisor as one of them means the outage that takes that host out takes the quorum with it, which is the one thing a witness exists to prevent.
What the installer does, and does not, ask for
Section titled “What the installer does, and does not, ask for”No CA file, for the collector or the portal. Trust defaults to pin: the
certificate the core presents on first contact is the one accepted from then on.
Verifying against a CA bundle instead is available — sudo env COLLECTOR_CA_FILE=/path/ca.crt taranac-module collector, and PORTAL_CA_FILE
for the portal — and is a deliberate hardening choice, not a prerequisite.
No TLS material to copy for the witness either. It generates its own private
key, receives a signed certificate in answer to a request, and takes the cluster’s
etcd topology from the primary over the join channel. Nothing sensitive travels by
scp.
Nothing to download — images, at least. Every image a module needs is already on this disk, including the collector image the full stack never starts; a remote site is exactly where there is no registry to reach. If an image the role wants is genuinely absent, the installer names it and stops rather than reaching for a registry. Configuration is different: it is small and site-specific, so the portal fetches its own deployment bundle from the core over the channel it just authenticated. For a site with no route to the core at install time, download that bundle in the UI, copy it across, and name it:
sudo taranac-module portal --bundle /path/to/captive-portal-<slug>.tar.gzNeither installer reports a success it has not seen: each watches the module’s own log until it attaches — the collector’s enrollment, the portal’s first accepted heartbeat — and on failure prints the daemon’s own error and exits non-zero, rather than leaving a container to restart-loop out of sight.
Afterwards
Section titled “Afterwards”Each module answers for itself and uninstalls cleanly:
sudo taranac-module --list # what is installed on this boxsudo taranac-module collector --status # where it points, what it last did,sudo taranac-module portal --status # and whether the core is answeringsudo taranac-module collector --reset-trust # after the core's certificate was replacedsudo taranac-module collector --uninstall # containers and volumes, cleanly--status reads local state, so it still answers with the core unreachable —
which is when you most want to ask. A collector --uninstall refuses while its
outbox still holds results the core has not accepted: those configurations were
read from the devices and exist nowhere else. Let it drain, or accept the loss
with --uninstall --force. Either way the collector still exists on the core
— delete it there too, or it stays in the list for ever as offline.
./taranac knows what kind of host it is on. On a module appliance ./taranac ps and ./taranac logs drive that host’s own stack, and the commands that need
the database or the API say they belong on a Taranac node instead of failing with
a wall of unset-variable warnings.
Full operator guides for each: Deploy a standalone collector, Captive portal, and — for the witness and everything around it — High availability.
Living with the appliance
Section titled “Living with the appliance”Log in on the console or over SSH as taranac and the banner reminds you where
everything is:
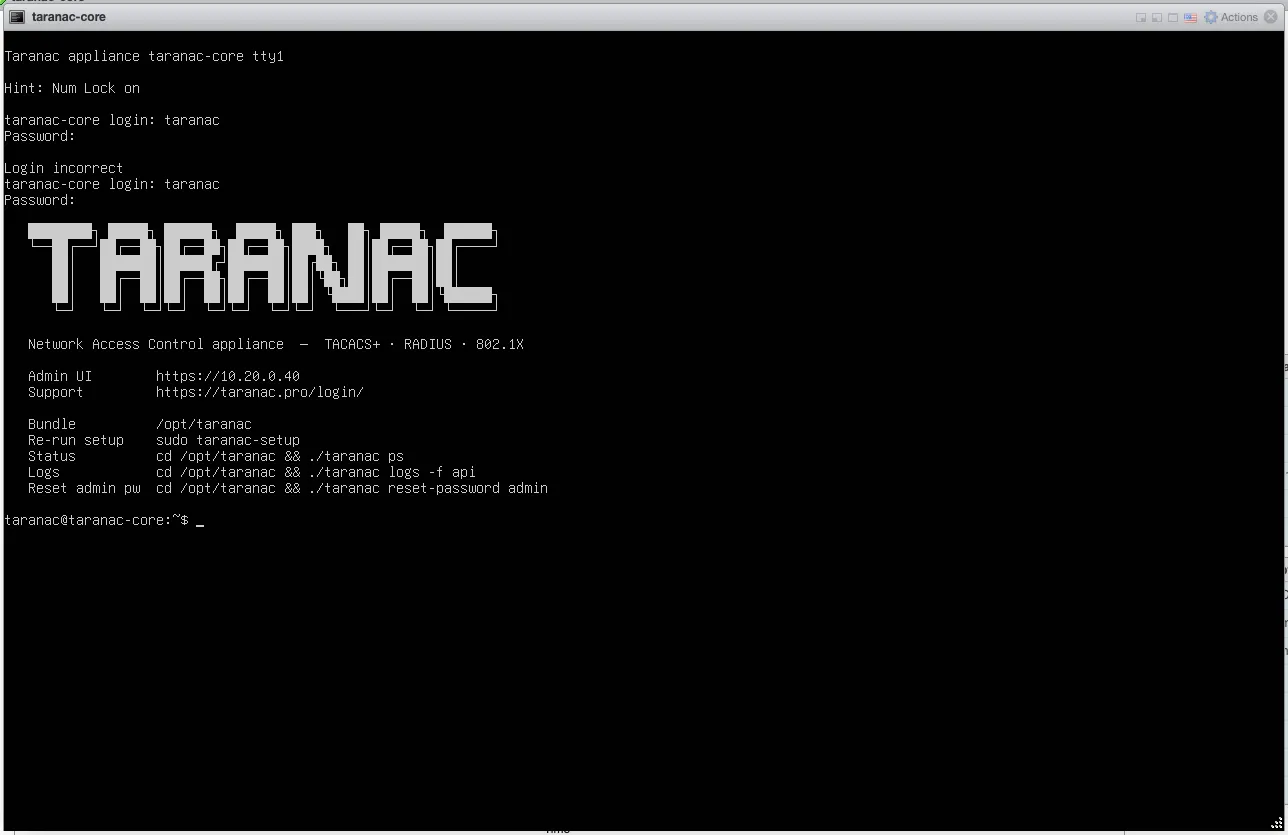
sudo taranac-setup # re-run the setup wizardsudo taranac-setup --dry-run # walk every screen, apply nothingcd /opt/taranac && ./taranac ps # what's runningcd /opt/taranac && ./taranac logs -f api # follow the API logcd /opt/taranac && ./taranac reset-password admin--dry-run is worth knowing about before a change you are unsure of: it shows
every screen exactly as the real run, including the netplan it would write, and
applies none of it.
From here the appliance is an ordinary install:
- Quick start — first device, first policy, first successful authentication.
- Backups & upgrades —
./taranac updateworks exactly as documented, and since 1.2.7 it sweeps up the images it superseded, keeping the current version and the one before it so a rollback still has something to roll back to. That matters on a 40 GB disk: releases used to accumulate until the stack stopped, a year and a dozen updates after the cause. The appliance is not self-updating; OS and product patching stay on your schedule.
Ubuntu’s own security updates do keep running, but they are fenced: they are held off entirely until the first-boot wizard has finished, and they are barred from restarting the container runtime or the wizard underneath you. An unattended upgrade killing the wizard 51 minutes into someone’s setup is exactly the failure that fence exists for.
Answering Taranac installs a single core node. It is not locked into being
one: ./taranac cluster init turns it into the primary of an HA cluster, and the
HA images travel on the same disk, so that conversion is offline too — see
High availability.